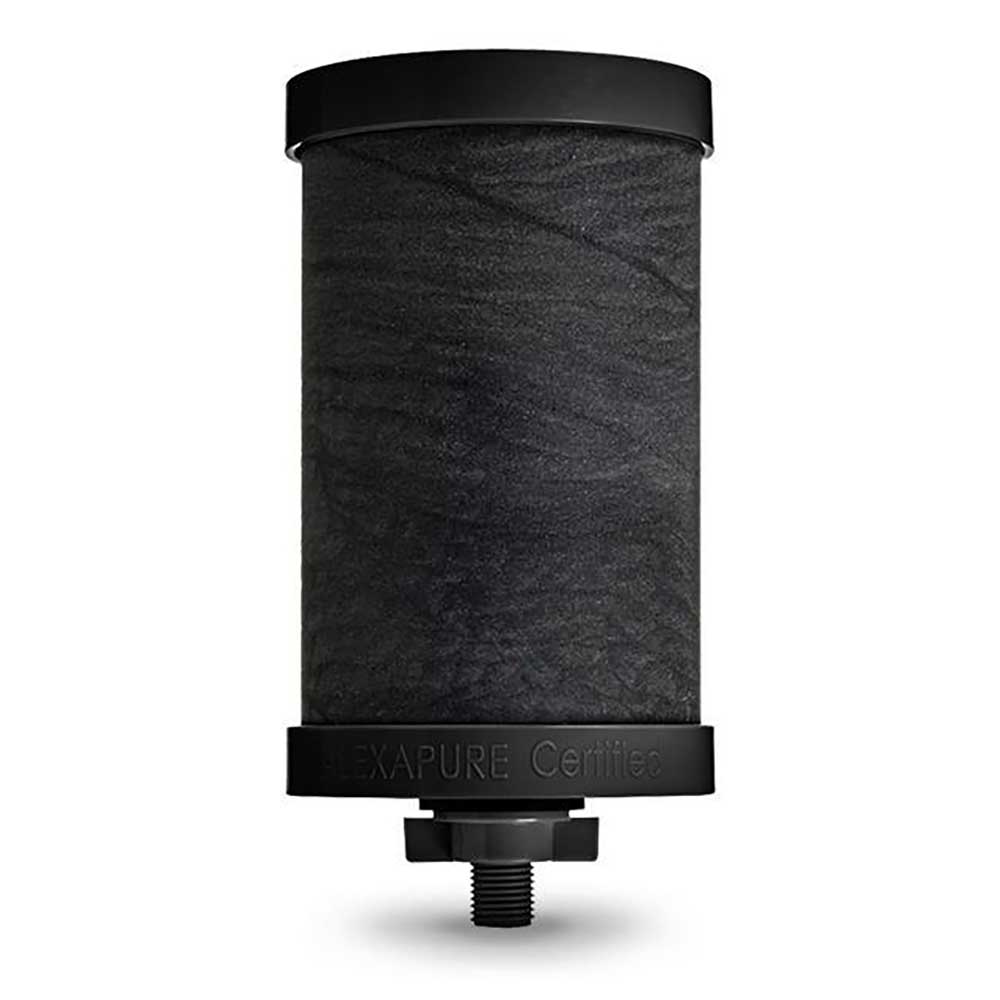
Alexapure Pro Genuine Replacement Filter
Alexapure Pro Genuine Replacement Filter is backordered and will ship as soon as it is back in stock.
Delivery and Shipping
Delivery and Shipping
United States: Free standard shipping on orders over $200.
Canada: Free standard shipping on orders over $100 to BC, AB, SK, MB, and ON
Delivery Times
Canada: 3-7 business days after processing.
**Please note**
Canada Post is currently on Strike which may delay shipping times
- We have other shipping providers available.
United States: 5-10 business days after processing.
For More information, please see our Shipping Policy
Payment & Security
Payment methods
Your payment information is processed securely. We do not store credit card details nor have access to your credit card information.
The Alexapure Pro Water Filtration System can accommodate up to four filters. When more filters are added, the water flow rate increases without sacrificing water quality.
When you notice a drastic change in water flow rate, it’s time to replace your Alexapure Pro Water Filtration System’s filter with an Alexapure Pro Genuine Replacement Filter.
Features
- Proprietary gravity block with ionic absorption technology
- Silver-infused ceramic outer shell
- Verified* filtration capacity of 200 gallons
- Reduces 206 contaminants** commonly found in drinking water including:
- Bacteria (> 99.9999%)
- Chlorine (> 99.9%)
- Fluoride (> 97%)
- Pesticides (> 95%)
- Pharmaceuticals (> 95%)
- Viruses (> 99.99%)
- Heavy metals
- Lead
- Weighs less than 2 pounds
- Ready to use right out of the box
- No priming necessary
- Made in the USA
What’s Included
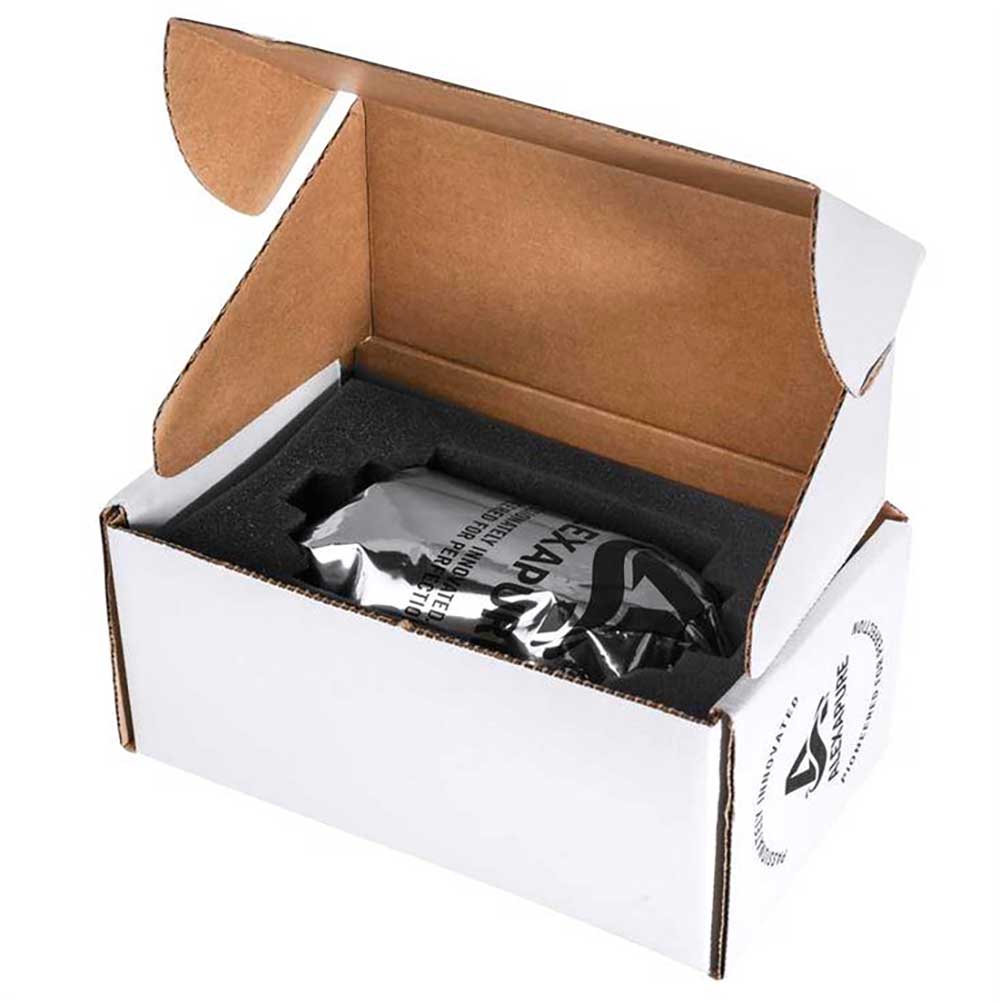
- Alexapure Pro Genuine Replacement Filter
- Installation hardware
Replacing Your Alexapure Pro® Genuine Replacement Filter
- Remove the lid from the upper chamber.
- Remove the empty upper chamber, keeping the old filter steady with one hand.
- Reach beneath the filter and remove the wing nut holding the unit in place.
- Slide the filter out, then discard it.
- Open the package containing the new filter.
- Unscrew the wing nut, leaving the washer in place.
- Thread the stem of the new filter through one of the four holes on the bottom of the upper chamber. Ensure the filter is held straight.
- Secure the filter beneath with the wing nut.
- Replace the upper chamber and use!

