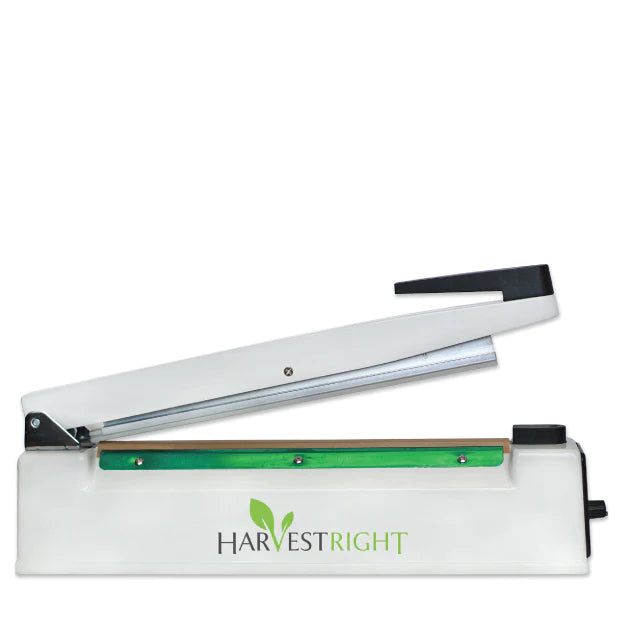
Harvest Right 12″ Impulse Sealer
Harvest Right 12″ Impulse Sealer is backordered and will ship as soon as it is back in stock.
Delivery and Shipping
Delivery and Shipping
United States: Free standard shipping on orders over $200.
Canada: Free standard shipping on orders over $100 to BC, AB, SK, MB, and ON
Delivery Times
Canada: 3-7 business days after processing.
**Please note**
Canada Post is currently on Strike which may delay shipping times
- We have other shipping providers available.
United States: 5-10 business days after processing.
For More information, please see our Shipping Policy
Payment & Security
Payment methods
Your payment information is processed securely. We do not store credit card details nor have access to your credit card information.
- 5mm width
- 13lb
Seal and store your own harvest with the Harvest Right 12-inch Impulse Sealer. Now you can prepare your own food items for long term storage with ease.
- No warm up or cool down time required
- Simple and easy to use,
- Adjustable for various mylar thicknesses
An impulse sealer is a powered tool used to seal different types of packaging—such as mylar bags. It uses an impulse of electricity to heat up a metal wire that melts one layer of plastic to the other. This creates a permanent seal that can only be broken by cutting it open later (or ripping it open, for the impatient among us).
One of the advantages of using impulse sealers over heat sealers is that there’s no warm-up time needed—and no need for a cool-down time, either. As a result, they’re a bit safer to use (though, of course, anyone who uses one needed to be properly trained on how to use it).
How to Use
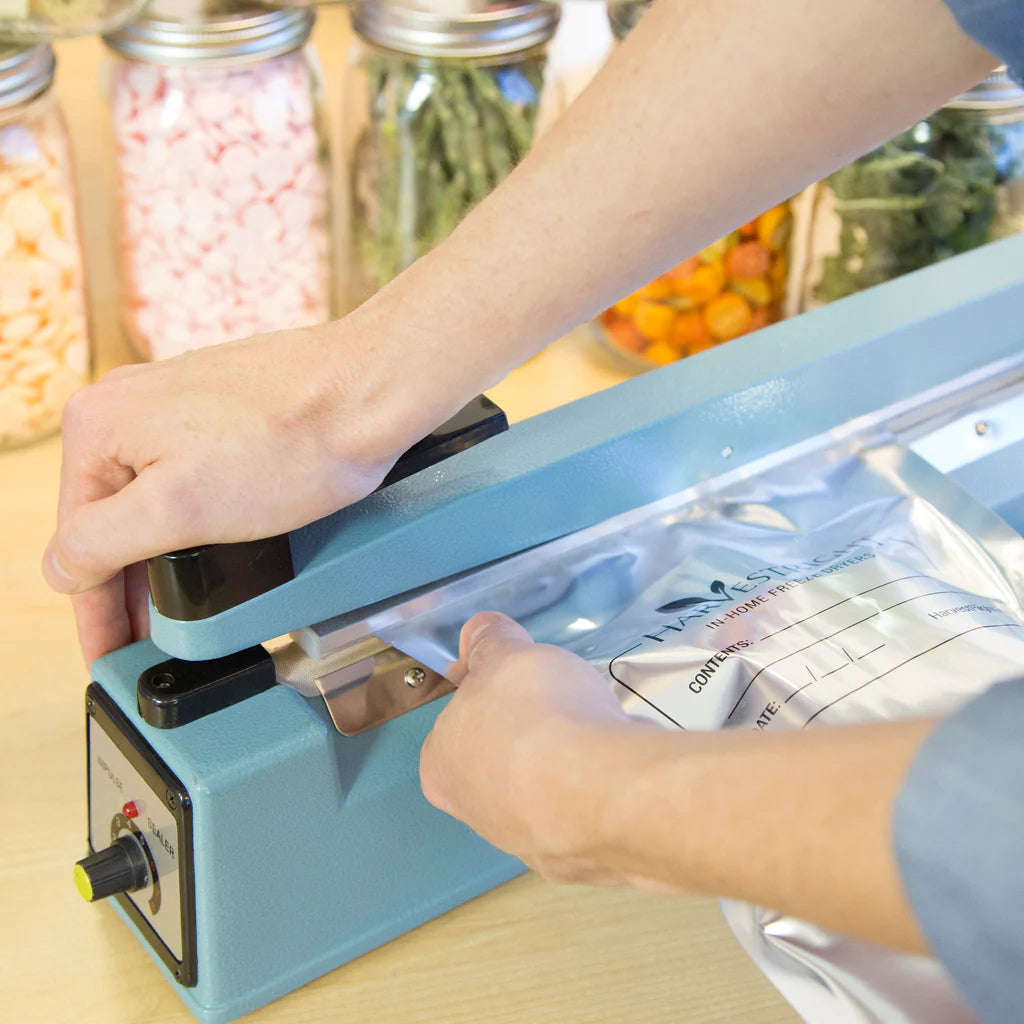
Place sealer on a steady surface and plug the cord into the wall. Next set your dial. The numbers on the dial correlate with the thickness of the Mylar bags. For example, Mylar bags would be a 7 whereas, the clear plastic pouches that have oxygen absorbers in them would be set at 4 or 5.
Place the bag between the handle and the base. Make sure the heater strip is lined up to seal just above the small notches on either side of the bag. This ensures that when you tear the bag at the notches, the bag may easily be opened. If you seal the bag lower than the notch, that is OK too. Just use scissors to open the bag.
Once the bag is correctly positioned, press the handle down firmly. The light and heater will then stay on for a few seconds. Hold down the handle until the light goes out.
Lift the handle and remove the bag. Make sure the seal line goes all the way across the top of the bag. For their own peace of mind some customers repeat this process, sealing each Mylar bag twice to ensure they have a good seal.

